 Save to Pinterest
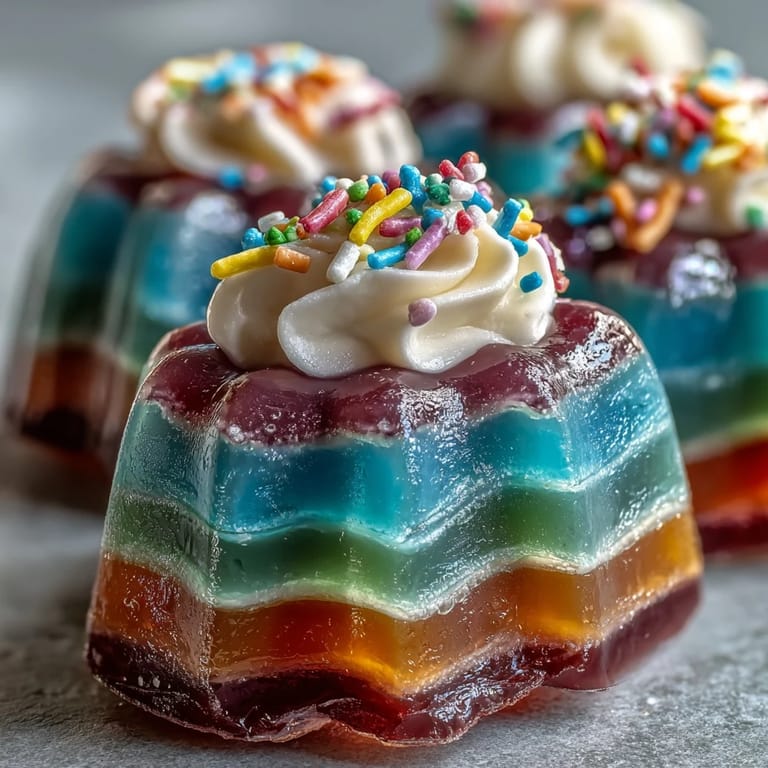
 The first time I made rainbow Jello cups, I was sidetracked by the dazzling array of colors scattered across my kitchen counter. It was a dreary Thursday afternoon, and my playlist was competing with the hum of the refrigerator as I shuffled boxes of Jello. The idea came from a last-minute party request, and what started as a quick fix turned into a lively, sticky adventure. Seeing the translucent jewel-toned layers catch the light made me realize these cups could turn a ho-hum gathering into something special. My hands were covered in sugar, but the anticipation of little hands reaching for their own cup kept me going.
A few months ago, I whipped these up for my niece's birthday, and before I had even finished the last layer, her friends crowded around, debating which color was their favorite. I still laugh about how one child insisted blue tasted "like summer vacation" while another tried to guess what flavor purple was. That afternoon, the kitchen felt like a rainbow factory, and the giggles were louder than any party game. Even my brother asked for the recipe, pretending it was "for the kids" but we both knew who got the last cup. Those rainbow Jello cups became the unofficial mascot for joyful celebrations at our house.
Ingredients
- Strawberry, Orange, Lemon, Lime, Berry Blue, and Grape Jello: These boxes are the magic behind each layer, and I learned that stirring them properly keeps colors bold and layers clear.
- Boiling and Cold Water: Temperature matters—a rushed pour keeps things cloudy, so I always wait for Jello to dissolve completely before adding cold water.
- Whipped Cream or Topping: Adds a cloud of sweet softness, and piping it neatly is worth the extra effort; I've tried both real cream and coconut whipped for different crowds.
- Rainbow Sprinkles: Optional but irresistible, especially for kids; I sprinkle just before serving so colors stay crisp.
Tired of Takeout? 🥡
Get 10 meals you can make faster than delivery arrives. Seriously.
One email. No spam. Unsubscribe anytime.
Instructions
- Purple Foundations:
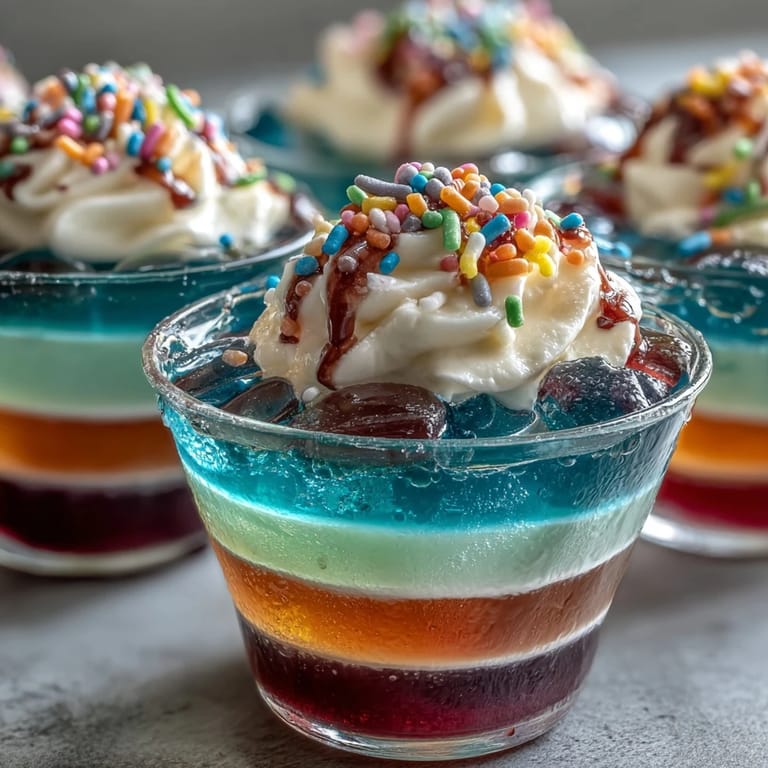
- Start by mixing the grape Jello with boiling water in a big bowl, letting its scent fill the air. Stir until everything's dissolved, then fold in cold water and pour a splash into each clear cup—watch the color swirl and settle before sliding cups into the fridge.
- Build Layer by Layer:
- Clean your bowl and repeat the process with the blue Jello. Pour gently atop the purple, and try not to rush; letting each layer fully chill means sharp stripes instead of messy muddles.
- Midway through the Rainbow:
- As you move from green to yellow, take a moment to admire how the layers stack up. Each new Jello box feels like unlocking another secret—patience really pays off here.
- Sunset on Top:
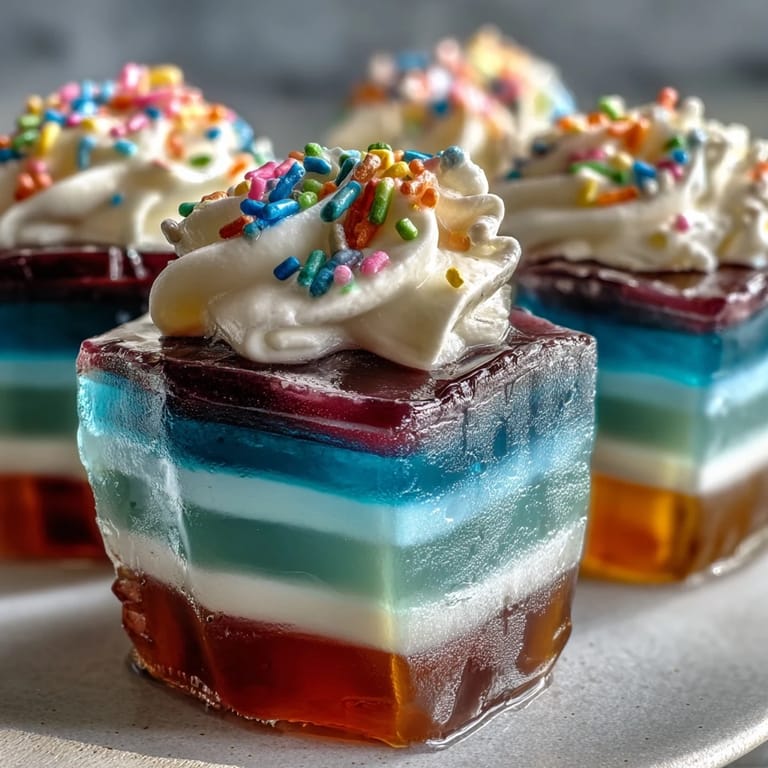
- Finish with orange and then red, the most vibrant layers—by now, your cups look positively playful. After one final chill, they become ready canvases for the finishing touches.
- Creamy Crown:
- Pipe or spoon whipped cream onto each cup, then rain down sprinkles for a festive flourish. Grab a spoon and enjoy the satisfying bounce of each layer—every bite is a tiny celebration.
 Save to Pinterest
 The best surprise was when my eldest cousin confessed he hadn't eaten Jello in decades but couldn't resist peeking into the fridge. That moment reminded me how kitchen creations can spark nostalgia for everyone, not just kids.
Choosing Your Rainbow
Experimenting with flavor combinations made me realize there is no wrong way to build a rainbow. Sometimes I swap the order or colors based on what's in the pantry, and the results are always unique—plus, mixing up flavors keeps things interesting.
Making Ahead for Parties
The real game changer was preparing these cups the night before a big event. Storing them uncovered makes the cream droop, so I always cover loosely with plastic wrap—layers stay crisp, and party prep feels stress-free.
Troubleshooting Layered Jello
Not every batch went perfectly, especially early on when impatience got the best of me. The key is waiting until each layer is fully set before adding the next, and I sometimes speed-check by gently tapping the cup. Kids love helping out too—just keep little fingers out of the fridge!
- If a layer looks uneven, just add extra whipped cream to hide it.
- Gelatin is forgiving: If colors blur, the flavor is still fantastic.
- Remember to use clear cups for maximum wow factor.
 Save to Pinterest
 If sharing these reminds you to play with color and flavor, you're doing it right. Rainbow Jello cups are proof that simple recipes can spark big smiles—no fuss required.
Recipe FAQs
- → How do I achieve distinct Jello layers?
Allow each color to fully set in the cups before adding the next layer. This prevents mixing and keeps layers sharp.
- → Can I use sugar-free Jello?
Yes, using sugar-free Jello works well and creates a lighter dessert. Follow packaging instructions for best results.
- → What is a dairy-free topping option?
Coconut whipped cream or any plant-based topping can replace regular whipped cream for dairy-free needs.
- → How long does the layering process take?
Each layer needs about 30–40 minutes to set. The total time, including all layers and chilling, is around 4 hours.
- → Can I customize flavors and colors?
Yes, choose any Jello flavors or colors you like to match party themes or personal preferences.
- → Is this dessert suitable for vegetarians?
Yes, it's suitable for vegetarians. Check each Jello package to confirm gelatin source if desired.