 Save to Pinterest
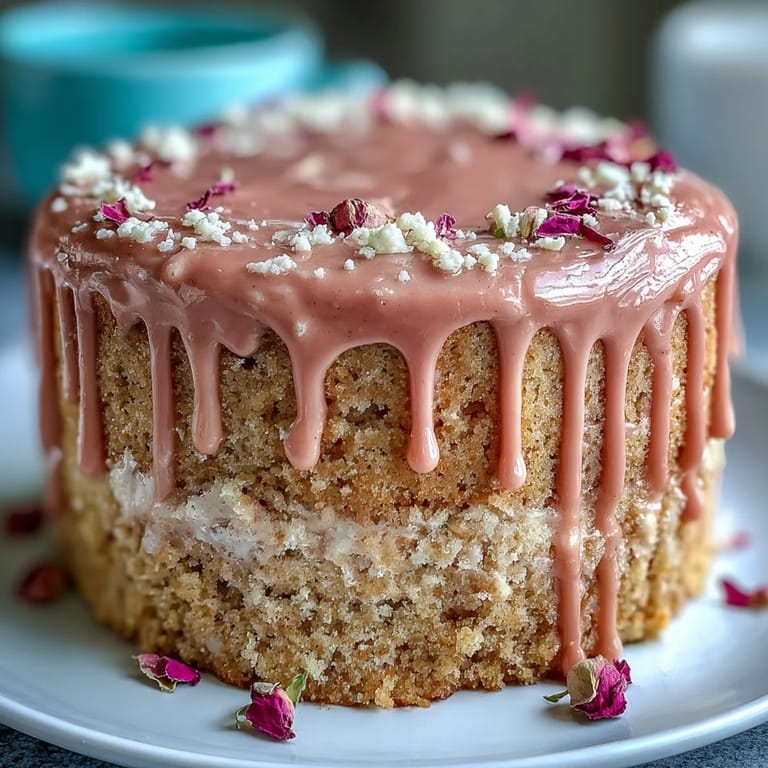
 The sound of laughter carried down the hallway as I pulled this blushing pink cake from the oven, the scent of vanilla and something subtly floral—yes, the rosé—mingling in the kitchen. My counter was dotted with flecks of shimmering gold luster dust and buttercream fingerprints, evidence of all the last-minute, hands-on creativity this recipe invites. I had first decided to try a velvet cake with rosé for a friend's bridal shower, craving something that felt festive yet chic, and with enough drama to warrant a little fanfare when it arrived at the table. Mixing that first bowl, even before the gold drip, felt like unrolling a bolt of lush party fabric. Never in my wildest cake-making dreams had I imagined how fun it would be to play with edible gold paint in my own kitchen.
While assembling the layers for my cousin's shower, I remember my niece poking her head into the kitchen, her eyes wide as she watched the ribbons of white chocolate turn glamorously golden atop pale pink frosting. We giggled about drips misbehaving and gold dust floating everywhere, but it added a lighthearted magic to the afternoon. That cake quickly turned into more than just dessert; it became a part of the day's memory for everyone who tasted it. Little failures, like a less-than-perfect crumb coat, didn't matter once the final shimmering effect took center stage. Everyone at the table was snapping photos before slices were served.
Ingredients
- All-purpose flour: The backbone of the cake, make sure to sift for the most tender crumb and avoid lumps you don't discover until slicing.
- Granulated sugar: Gives the cake just the right sweetness to balance the hint of rosé.
- Baking soda: Essential for rise, and yes, I learned to double-check its freshness for proper lift.
- Fine salt: Don't skip; it amplifies the wine's gentle flavors and tempers the sweetness.
- Cocoa powder (unsweetened): Just a tablespoon deepens the color and brings the classic velvet nuance.
- Vegetable oil: Makes for an extra moist, plush crumb, and is far more forgiving than butter.
- Eggs: Room temperature eggs integrate better and help create a smooth, even texture.
- Buttermilk: Adds tang and guarantees tenderness in every slice—leave it on the counter to warm while you prep.
- Rosé wine: Choose a dry or sparkling type; quality matters since the flavor lingers in each bite.
- Vanilla extract: Never underestimate the impact of pure vanilla on enhancing both aroma and taste.
- White vinegar: The secret chemical boost that reacts with baking soda and preserves the soft crumb.
- Pink or rose gel food coloring: Just a few drops go a long way—start with less, then build up slowly to the shade you want.
- Unsalted butter: For the buttercream, room temperature is a must for smooth, swooshable frosting.
- Powdered sugar: Sifting prevents any gritty icing mishaps, and four cups let you adjust sweetness.
- Heavy cream: Used in the gold drip; don't boil it, just gently warm with chocolate for a glossy finish.
- White chocolate chips: Turns into the base for the drip—melt slowly to avoid seizing.
- Edible gold luster dust: It's the magic flourish—triple check it's labeled edible, and a little goes a long way.
- Vodka or clear lemon extract: Thins out gold dust so you can brush on gleaming highlights.
Tired of Takeout? 🥡
Get 10 meals you can make faster than delivery arrives. Seriously.
One email. No spam. Unsubscribe anytime.
Instructions
- Start the celebration (Preheat and prep):
- Crank the oven to 350°F (175°C), and grab your three 8-inch pans—parchment rounds will make your later unmolding drama-free.
- Mix the dry foundation:
- Sift flour, sugar, baking soda, salt, and cocoa into a mountain; swirling aromas foreshadow the cake's rich flavor.
- The rosy wet mix:
- Whisk oil, eggs, buttermilk, rosé, vanilla, and vinegar together until creamy clouds form—watch for that blush of color as you stir.
- Combine and color:
- Pour the wet into the dry bowl and stir only until just combined; add food gel drop by drop, marveling as the pastel pink comes alive.
- Bake and test:
- Gently fill your pans, smoothing the tops, and slide them in the oven; your kitchen will fill with a scent both vanilla-rich and faintly floral—check for doneness with a clean toothpick.
- Cool with patience:
- After a little rest in their pans, let the cakes finish cooling on racks, resisting the urge to decorate too soon.
- Rosé buttercream magic:
- Beat the butter until impossibly fluffy, then gradually mix in powdered sugar; splash in rosé and vanilla, tasting as you go for both texture and flavor.
- Layer by layer:
- Trim the cooled cakes if needed, sandwich them with clouds of buttercream, and cover in a thin crumb coat—chill briefly to set.
- Final swirls and smoothing:
- Swoop on the final coat of buttercream, using an offset spatula to create soft swoops; any imperfections will soon hide beneath shimmering gold.
- Golden drip showstopper:
- Melt white chocolate with cream for a glossy, pourable mixture, letting it cool until thick yet fluid; drizzle along the cake's top edge, letting it cascade in elegant drips.
- Paint with gold:
- Mix gold luster dust with a splash of vodka until paint-like, then, with childlike delight, brush each drip with liquid gold and watch the cake transform.
- Add final touches:
- If you're feeling extra, scatter edible rose petals or plump berries—it's your moment to make the cake uniquely yours.
 Save to Pinterest
  Save to Pinterest
 When I served this cake at my friend's bridal shower, between the oohs and aahs, someone whispered that it looked like something out of a Parisian patisserie. That moment—watching the bride-to-be's face light up—made all the mixing and shimmering worth it.
What Makes This Cake Unforgettable
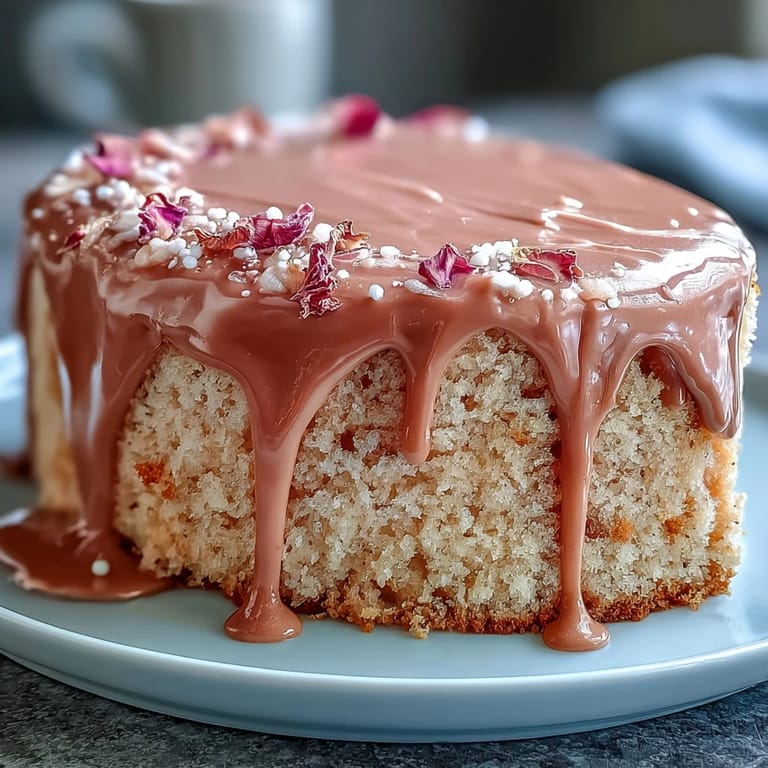
Every time I make this cake, the ritual of brushing gold onto cooled chocolate drips feels a bit like prepping for a little celebration—no matter whose name is on the invitation. The flavor of rosé is subtle yet noticeable, creating a cake that always feels a step above ordinary velvet. And when the last slice disappears, there's always a lingering shimmer left on the serving plate as a reminder of a sparkling occasion.
My Best Gold Drip Tips
Achieving that flawless, even gold drip took me a few tries, but I finally nailed it by ensuring my melted white chocolate was just slightly cooled—no longer hot, but still fluid enough to run. Using a spoon or squeeze bottle lets you control the pace, creating longer or shorter drips for a truly custom look. Less gold paint is more: a light, gentle brush creates the prettiest shine without overwhelming the delicate cake beneath.
Serving and Storing with Style
After perfecting this cake, I realized letting it chill overnight actually deepens the flavor and lets all the layers settle into one harmonious bite. Slices served at room temperature allow the buttercream to soften to that perfect, melt-in-your-mouth consistency. Any leftovers keep surprisingly well for several days, which means bridal shower magic can extend well beyond one afternoon.
- If adding fresh flowers, always check they're edible and pesticide-free.
- Use a hot knife for the tidiest, photo-ready slices.
- Don't cover the cake before it's fully cooled to avoid condensation spoiling your gold finish.
 Save to Pinterest
 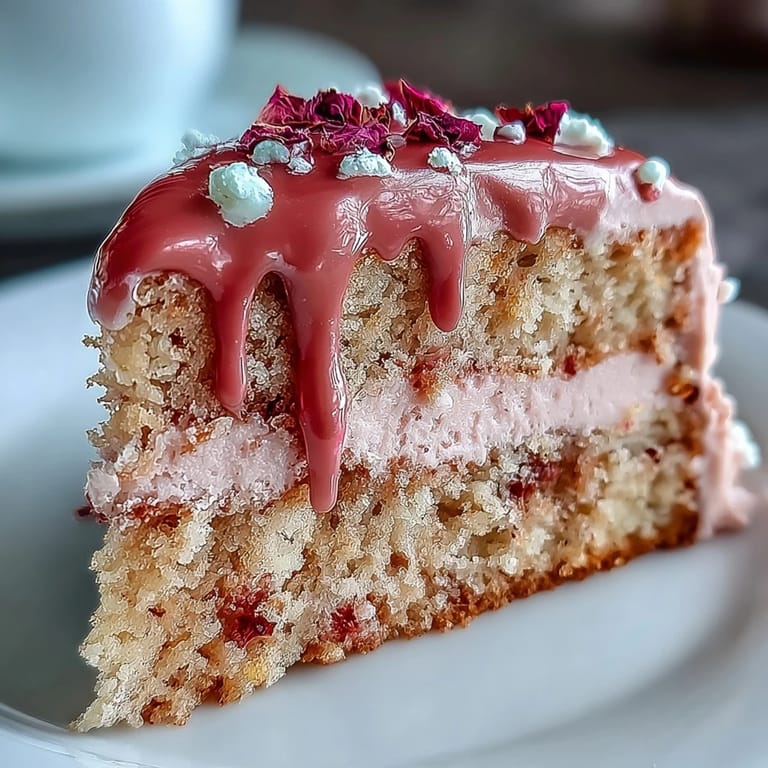 Save to Pinterest
 Happy baking—and may your next celebration be as glittering as this cake. There's magic in every golden drip, and I hope your kitchen sparkles too.
Recipe FAQs
- → Can I use sparkling rosé instead of still rosé?
Yes—sparkling rosé adds brightness and a subtle effervescence that enhances floral notes. If using sparkling, monitor batter consistency and slightly reduce other liquids if it seems too loose.
- → How do I get even, stable layers?
Level each cooled layer with a serrated knife or cake leveler, add an even layer of buttercream between tiers, chill after a thin crumb coat, and use a cake board or dowels for extra support if stacking several tiers.
- → What is the best way to make a smooth gold drip?
Melt white chocolate with cream until glossy, let it cool to a slightly thick but pourable temperature, then apply with a spoon or squeeze bottle for controlled drips. Once set, mix edible gold luster with vodka or clear extract and paint the drips.
- → Is edible gold luster dust safe to use?
Use only products labeled edible or food-grade. Mix luster dust with a food-safe solvent like vodka or clear lemon extract for painting; never use non-edible metallics or craft-grade powders.
- → Can this be made ahead and how should it be stored?
Yes—assemble and chill up to 24 hours. Store refrigerated in an airtight container; bring to room temperature for 30–60 minutes before serving to soften the buttercream and release flavors.
- → What substitutions work for dietary restrictions?
For egg-free, use a commercial egg replacer or a suitable binder and choose plant-based butter and non-dairy cream. Note texture and flavor will change; test a small batch if uncertain.