 Save to Pinterest
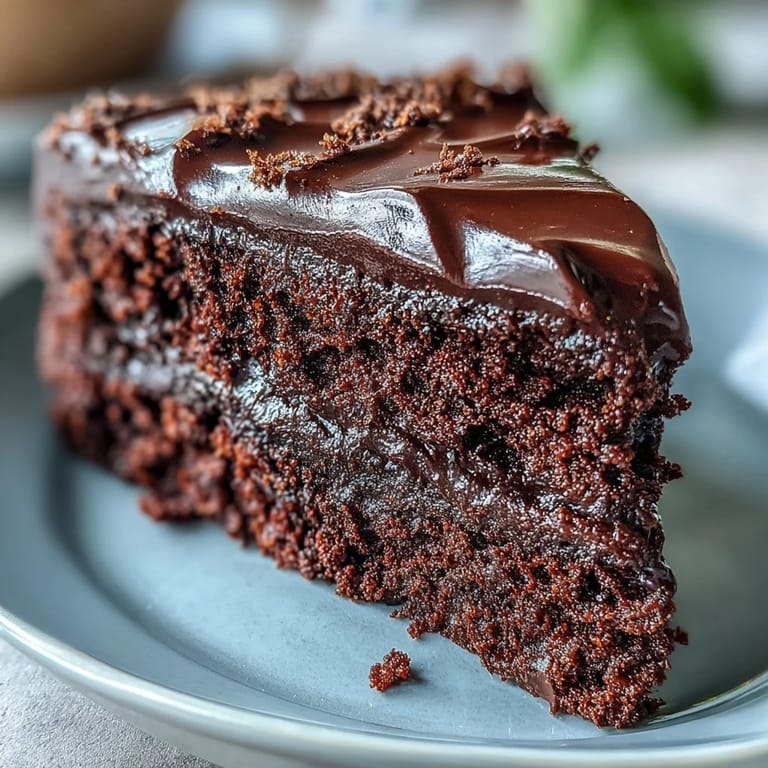
 The smell of dark chocolate melting into butter is what sold me on this cake before I ever tasted it. I was helping a neighbor prepare for her daughter's birthday, and she swore this was the only chocolate cake worth making. She wasn't wrong. The batter was glossy, almost too beautiful to bake, and when those layers came out of the oven, squidgy in the center and cracking just slightly at the edges, I knew I'd be making this for years.
I made this for a spring picnic once, iced it in the morning, and by afternoon it had survived a car ride and two enthusiastic toddlers poking at the table. It held its shape, stayed moist, and disappeared in minutes. One friend asked if I'd used a secret family recipe. I just laughed and said it was all about good chocolate and not overthinking it.
Ingredients
- Unsalted butter (200 g, plus extra for greasing): Use proper butter here, not margarine, as it carries the chocolate flavor and keeps the crumb tender.
- Dark chocolate (200 g, minimum 50% cocoa solids), chopped: The backbone of the cake, so choose one you'd enjoy eating on its own.
- Light brown sugar (250 g): Adds a hint of caramel depth that white sugar simply can't match.
- Large eggs (3): Bring them to room temperature so they blend smoothly into the batter without seizing the chocolate.
- Plain flour (200 g): Standard all-purpose works beautifully, no need for cake flour here.
- Baking powder (1 ½ tsp): Gives just enough lift without making the cake airy, we want fudgy, not fluffy.
- Fine sea salt (¼ tsp): Balances the sweetness and makes the chocolate taste richer.
- Cocoa powder (50 g): Intensifies the chocolate without adding more fat or sugar.
- Whole milk (150 ml): Loosens the batter to a pourable consistency and keeps everything moist.
- Vanilla extract (1 tsp): A quiet supporter that rounds out all the other flavors.
- Dark chocolate for icing (150 g), chopped: Same quality rule applies, this becomes the glossy outer coat.
- Unsalted butter for icing (100 g): Melts into the chocolate to create that signature sheen.
- Icing sugar (200 g), sifted: Sifting is non-negotiable unless you enjoy lumpy icing.
- Whole milk for icing (3 tbsp): Thins the icing just enough to spread without tearing the cake.
Tired of Takeout? 🥡
Get 10 meals you can make faster than delivery arrives. Seriously.
One email. No spam. Unsubscribe anytime.
Instructions
- Preheat and Prepare:
- Set your oven to 180°C (160°C fan) or 350°F and grease two 20 cm round tins, then line the bottoms with baking paper. This step prevents heartbreak when the cakes stick.
- Melt the Chocolate and Butter:
- Place the butter and chopped chocolate in a heatproof bowl over a pan of gently simmering water, stirring now and then until smooth and glossy. Let it cool for a few minutes so it doesn't scramble the eggs later.
- Whisk the Eggs and Sugar:
- In a large bowl, whisk the sugar and eggs together until the mixture is pale, thick, and holds a ribbon when you lift the whisk. This takes about three minutes by hand or less with an electric whisk.
- Combine Wet Ingredients:
- Stir the melted chocolate mixture into the eggs and sugar, followed by the vanilla extract. The batter should look shiny and unified.
- Sift the Dry Ingredients:
- In a separate bowl, sift together the flour, baking powder, salt, and cocoa powder. Sifting keeps the texture light and prevents cocoa clumps.
- Fold and Mix:
- Gradually fold the dry ingredients into the wet mixture, alternating with the milk, until just combined. Don't overmix or the cake will toughen.
- Divide and Bake:
- Split the batter evenly between the two prepared tins and smooth the tops. Bake for 30 to 35 minutes, until a skewer comes out with a few moist crumbs clinging to it.
- Cool the Cakes:
- Let the cakes cool in the tins for 10 minutes, then turn them out onto a wire rack to cool completely. Icing a warm cake will melt everything into a puddle.
- Make the Icing:
- Melt the chocolate and butter together over simmering water, then remove from heat. Gradually beat in the sifted icing sugar and milk until smooth and glossy.
- Assemble and Ice:
- Place one cake layer on a serving plate and spread a third of the icing over the top. Add the second layer, then cover the top and sides with the remaining icing, smoothing it with a palette knife.
 Save to Pinterest
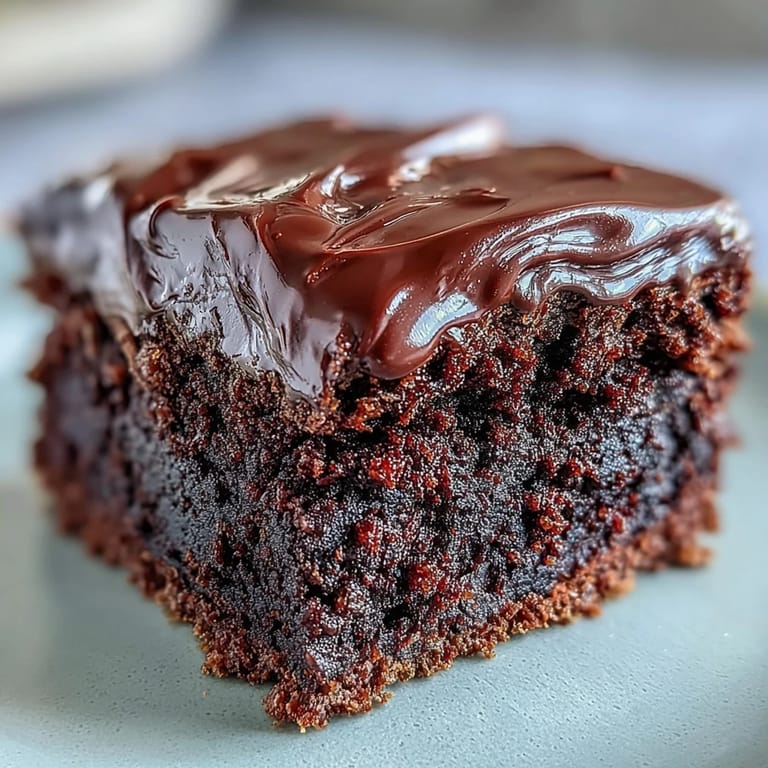
 There was an evening when I served this cake after a long, chaotic dinner party, and the table went quiet for the first time all night. Forks clinked, someone sighed, and my friend Anna said it tasted like the platonic ideal of chocolate cake. I've never forgotten that, because it's exactly what this recipe delivers every single time.
Serving Suggestions
This cake is rich enough to stand alone, but a dollop of whipped cream or a handful of fresh raspberries cuts through the sweetness beautifully. I've also served it with a scoop of vanilla ice cream on the side, which melts into the warm icing if you time it right. For a grown-up twist, a small glass of dessert wine or espresso makes it feel like a proper occasion.
Storage and Make-Ahead Tips
Once iced, this cake keeps well in an airtight container at room temperature for up to three days, though it rarely lasts that long. If you want to get ahead, bake the layers a day in advance, wrap them tightly in cling film, and ice them the next day. The icing firms up after a few hours, making it easier to slice cleanly without the layers sliding around.
Variations and Extras
I've tucked a thin layer of raspberry jam between the cake layers before, and the tartness plays beautifully against the fudgy chocolate. You can also fold in a handful of chopped nuts or chocolate chips into the batter if you like extra texture. Some people dust the top with cocoa powder or add fresh berries as a garnish, both work well without stealing the spotlight.
- Try adding a teaspoon of instant coffee to the melted chocolate for deeper flavor.
- Swap the vanilla extract for almond or orange extract if you want a subtle twist.
- For a lighter finish, use half the icing and serve the rest on the side as a sauce.
 Save to Pinterest
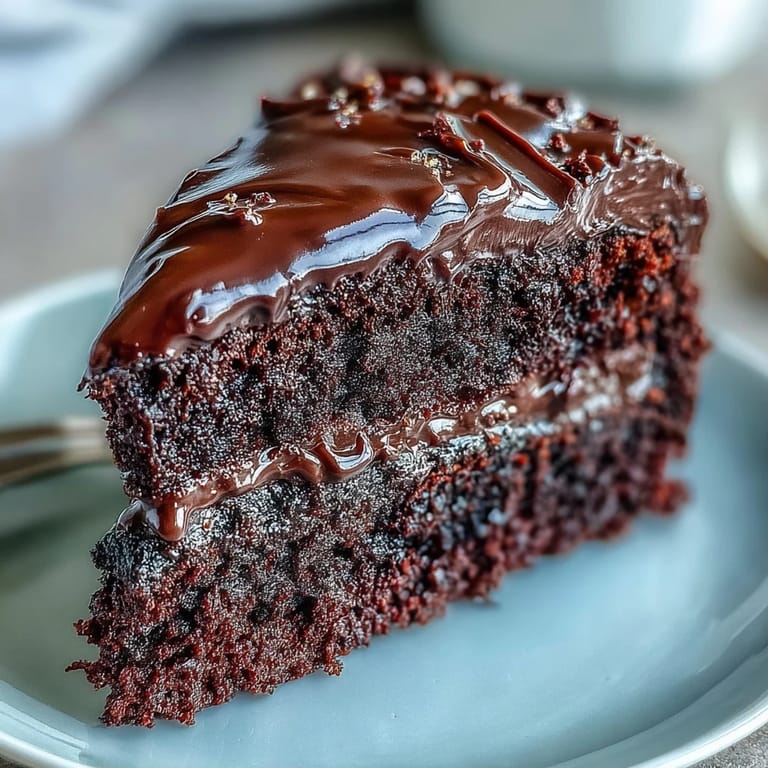
 This is the kind of cake that makes people lean back in their chairs and ask for seconds even when they're full. Keep the recipe close, you'll reach for it more often than you think.
Recipe FAQs
- → Can I use milk chocolate instead of dark chocolate?
Yes, but dark chocolate with at least 50% cocoa solids gives the best depth of flavor and prevents the cake from being overly sweet. Milk chocolate will make it sweeter and less rich.
- → How do I know when the cake is done?
Insert a skewer into the center—it should come out with a few moist crumbs attached, not wet batter. The cake should also spring back lightly when touched and start pulling away from the tin edges.
- → Can I make this cake in advance?
Absolutely. The un-iced cake layers can be wrapped tightly and stored for up to 2 days, or frozen for up to 3 months. Ice on the day of serving for best results.
- → Why is my icing too runny?
The icing needs to cool slightly after melting to thicken. If it's still too thin, add more sifted icing sugar gradually. If too thick, add a tiny splash of milk and beat well.
- → Can I make this as a single layer cake?
Yes, use a 23 cm (9-inch) round tin or a square tin and bake for 40-45 minutes. You can halve the icing quantity or use it all for an extra decadent finish.
- → What makes this cake so moist?
The combination of melted butter and chocolate, plus whole milk, creates a tender crumb. Avoid overbaking—a few moist crumbs on the skewer ensures the perfect squidgy texture.