 Save to Pinterest
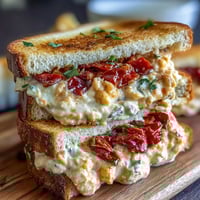
 My hands were sticky with dough and covered in cinnamon sugar the first time I made elephant ears at home, trying to recreate that exact fairground magic I'd tasted years ago. I was standing in my tiny kitchen on a Saturday morning, and something about stretching that warm dough thin felt like catching air itself. The sizzle when it hit the oil, the puff of golden magic that happened in seconds—it transported me instantly to carnival days, but this time I was in control of the whole moment.
I made these for my neighbor last summer when she was having a rough week, and watching her face when she bit into one—that surprised joy—reminded me why fried dough is kind of a love language. She came back three days later asking if I could teach her, and we've been making batches together ever since during our Saturday morning coffee catch-ups.
Ingredients
- Active dry yeast (2¼ teaspoons): This is your invisible helper that makes the dough rise and puff into those pillowy ears; make sure it's fresh and the milk isn't too hot or you'll kill it.
- Warm milk (1 cup): The temperature matters here—about 110°F is the sweet spot where yeast wakes up instead of getting scared.
- Granulated sugar (2 tablespoons for dough, ½ cup for topping): The first batch feeds the yeast; the second creates that crackling, sweet exterior that makes them impossible to resist.
- Unsalted butter (2 tablespoons melted for dough, 2 tablespoons optional for brushing): This gives the dough richness and helps the cinnamon sugar stick perfectly when you're assembling them.
- Salt (½ teaspoon): It's a small amount but makes a huge difference in flavor balance.
- All-purpose flour (2½ to 3 cups): Go gradually with this one—your kitchen's humidity will affect how much you actually need.
- Vegetable oil (3 cups for frying): Use something neutral that can handle high heat without smoking.
- Ground cinnamon (2 teaspoons): Don't skimp here; this is the signature flavor that makes people know exactly what they're eating.
Tired of Takeout? 🥡
Get 10 meals you can make faster than delivery arrives. Seriously.
One email. No spam. Unsubscribe anytime.
Instructions
- Wake up the yeast:
- Pour warm milk into a bowl and sprinkle the yeast over it with the 2 tablespoons of sugar, then step away for five minutes. You'll see it get foamy and alive—that's your signal that everything's going to work.
- Build the dough:
- Stir in the melted butter and salt, then gradually add flour while mixing, being patient about it. If it's still sticky after 2½ cups, add the remaining flour slowly until you have a soft, smooth dough that doesn't stick to your hands.
- Knead it to life:
- On a lightly floured surface, knead for about 5 minutes until the dough becomes elastic and smooth. It should feel alive under your hands, bouncing back when you press it.
- Let it rise:
- Place the dough in a greased bowl, cover it with a clean cloth, and find a warm spot in your kitchen—a turned-off oven with the light on, a sunny windowsill, anywhere that feels cozy. Let it sit until doubled, usually about an hour.
- Prepare your topping:
- While the dough rises, mix the ½ cup sugar with 2 teaspoons cinnamon in a shallow dish. This is your golden coating waiting to happen.
- Portion and stretch:
- Punch down the dough to release the air, then divide it into 8 equal pieces. Roll each into a ball, then gently stretch or roll each one into a thin oval about 8 inches long—thin enough to see light through it.
- Get the oil ready:
- Heat your 3 cups of oil in a large, deep skillet or Dutch oven to 350°F. Use a thermometer here; this temperature is the difference between golden and greasy.
- Fry to golden:
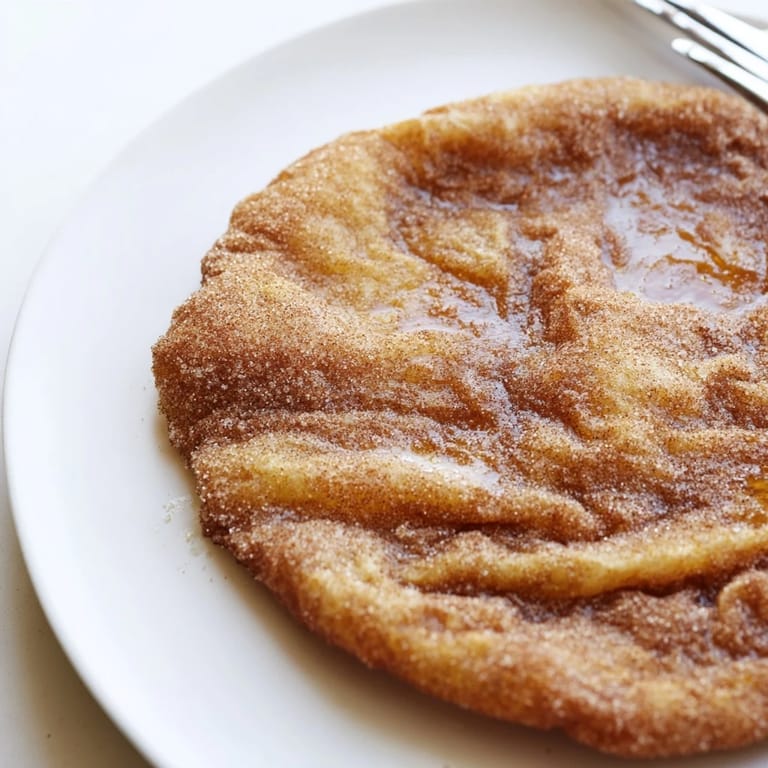
- Working with one or two ovals at a time, carefully place them in the hot oil and fry for about a minute per side until they're puffed, golden, and making a gentle sizzle sound. They'll puff up dramatically—that's exactly what you want.
- Coat while warm:
- Drain briefly on paper towels, brush with a bit of melted butter if you're using it, then immediately roll both sides in the cinnamon sugar mixture while everything is still warm and willing to stick.
 Save to Pinterest
 There was a moment watching my six-year-old nephew take his first bite, sugar crystals catching the light around his mouth, that I realized this recipe wasn't just about nostalgia—it was about creating new memories, the kind where everything simple feels special.
The Science of the Stretch
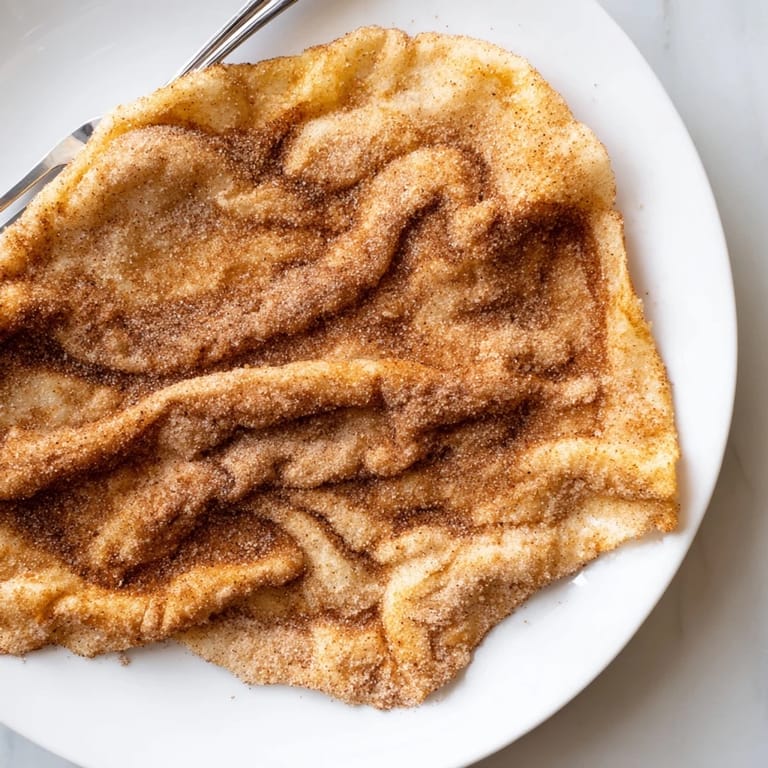
The magic of elephant ears isn't really magic at all—it's just gluten development and steam doing their thing. When that thin dough hits hot oil, moisture turns to steam almost instantly, creating all those little pockets that make them light instead of dense. The thinner you stretch the dough, the more dramatically it puffs, and the crispier the outside becomes. I learned this by accident when I made one piece way too thin and it turned into this beautiful, almost lacy thing that shattered perfectly between my teeth.
Make-Ahead Magic
This is where elephant ears shift from a spontaneous craving into actual party food. You can make the dough the night before, refrigerate it, and fry everything fresh in the morning—the cold dough actually develops more flavor and becomes easier to stretch without springing back at you. I discovered this by accident when I made dough on a Friday night and forgot about it until Saturday afternoon. The results were somehow even better than the fresh batch I'd made that morning.
Flavor Variations Worth Trying
Once you nail the basic recipe, the fun really starts. A pinch of nutmeg in the dough gives this warm, almost spiced-cake quality that makes people pause and wonder what's different. Some people brush them with melted chocolate instead of just butter, or dust them with powdered sugar for a different kind of elegance. The dough is forgiving enough to play with—add vanilla, cardamom, or even a little orange zest if you're feeling adventurous.
- Serve alongside hot chocolate in winter or coffee in summer for a complete fairground moment.
- Keep them in an airtight container for up to two days, though they're best eaten the same day while they still have that crispy snap.
- If you want extra decadence, serve with chocolate sauce, honey, jam, or dulce de leche for dipping.
 Save to Pinterest
 These are the kind of recipe that reminds you why you cook in the first place—simple ingredients transforming into something that brings people genuine joy. Whether you're at a fair or in your own kitchen, that moment of biting into one is the same small happiness.
Recipe FAQs
- → How do I achieve a crispy texture for elephant ears?
Ensure the dough is rolled thin and fry in hot oil at around 350°F to get a crispy exterior while keeping the inside light.
- → Can I prepare the dough ahead of time?
Yes, the dough can be refrigerated for up to 12 hours before frying to develop flavor and ease preparation.
- → What oil is best for frying elephant ears?
Use a neutral oil with a high smoke point like vegetable oil to ensure even frying without burning.
- → How can I prevent the dough from sticking while rolling?
Lightly flour your rolling surface and hands to keep the dough from sticking as you stretch it thin.
- → Are there optional additions to enhance flavor?
Adding a pinch of nutmeg to the dough or brushing melted butter before coating adds depth and richness.