 Save to Pinterest
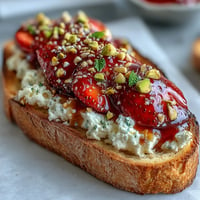
 There's something almost magical about the moment yeast-raised donuts emerge from hot oil, golden and puffy, ready to be glazed. I discovered this recipe on a quiet Sunday morning when my kitchen smelled like warm butter and promise, and I realized that homemade donuts aren't as intimidating as they seem—they just need patience and a little attention. The first batch came out perfect by accident, but by the third time making them, I understood the rhythm and why they taste nothing like the store-bought versions. There's a texture to these that's genuinely light and airy, the kind that melts on your tongue before you even swallow.
My neighbor's daughter stood on a stool next to me, watching the oil shimmer while we waited for the first donuts to fry, asking endless questions about why the dough bubbles. When the first batch came out and she bit into one—eyes wide, powdered sugar dusting her chin—she declared these better than the ones at the local donut shop. That moment made the whole process feel worthwhile, even with the small mess of oil splatters and the hour of rising time.
Ingredients
- All-purpose flour (3 1/2 cups): This is the backbone of your dough, and measuring it correctly (spoon and level, not scooped) makes a real difference in texture.
- Whole milk, warmed (1 cup): Warm milk wakes up the yeast and creates a softer, richer crumb than water ever could.
- Active dry yeast (2 1/4 tsp): One packet, and it's the reason these donuts rise into clouds instead of staying dense.
- Unsalted butter, melted (1/4 cup): Melted butter incorporates more evenly than cold, and it keeps the donuts tender the next day (if they last that long).
- Granulated sugar (1/4 cup): This feeds the yeast and adds subtle sweetness to the dough itself.
- Eggs (2 large, room temperature): Room temperature eggs emulsify better and create a silkier texture.
- Fine salt (1/2 tsp): A pinch brings out the vanilla in the glaze and prevents the donuts from tasting flat.
- Neutral oil for frying (2 quarts): Keep it at a steady temperature; fluctuations make donuts greasy or raw inside.
- Powdered sugar (2 cups, sifted): Sifting removes lumps so your glaze is silky smooth, never gritty.
- Pure vanilla extract (1 tsp): Use the real thing—imitation extract tastes thin and hollow by comparison.
Tired of Takeout? 🥡
Get 10 meals you can make faster than delivery arrives. Seriously.
One email. No spam. Unsubscribe anytime.
Instructions
- Bloom the yeast:
- Pour warm milk into a small bowl and sprinkle the yeast over it, then let it sit for 5 minutes. You'll see it foam and bubble—this tells you the yeast is alive and ready to work.
- Combine the dry ingredients:
- In a large bowl or stand mixer, whisk together flour, sugar, and salt. This distributes the yeast food and seasoning evenly through the dough.
- Bring everything together:
- Add the foamy yeast mixture, melted butter, and eggs to the flour mixture. Mix on low speed until a shaggy, sticky dough forms; don't worry if it looks rough at first.
- Knead into smoothness:
- Switch to medium speed and knead for 5 to 7 minutes (or work by hand for about 10 minutes). The dough will transform from sticky and rough into smooth, elastic, and slightly tacky—it should spring back slowly when you poke it.
- Let it rise:
- Place the dough in a greased bowl, cover it with a damp cloth, and let it sit in a warm, draft-free spot for 1 to 1.5 hours until it's doubled in size. A warm oven with the light on, or a turned-off microwave, works perfectly.
- Roll and cut:
- Turn the puffy dough onto a lightly floured surface and gently roll it to a 1/2-inch thickness. Using a floured 3-inch donut cutter, punch out donuts; save the holes for frying too.
- Second rise:
- Place cut donuts and holes on a parchment-lined tray, cover loosely, and let them puff up for 30 to 45 minutes. They should look noticeably puffier but still hold their shape when gently poked.
- Heat the oil:
- Fill your deep fryer or a heavy-bottomed pot with neutral oil and bring it to 350°F (175°C). Use a thermometer—too cool and they'll be greasy, too hot and they'll brown before cooking inside.
- Fry until golden:
- Working in batches to avoid crowding, gently place donuts into the hot oil. Fry for 1 to 1.5 minutes per side until they're a deep golden brown, then lift them out with a slotted spoon and drain on paper towels.
- Make the glaze:
- Sift powdered sugar into a shallow bowl, then whisk in milk, vanilla, and a pinch of salt until smooth and pourable. The glaze should coat the back of a spoon but still drip slowly.
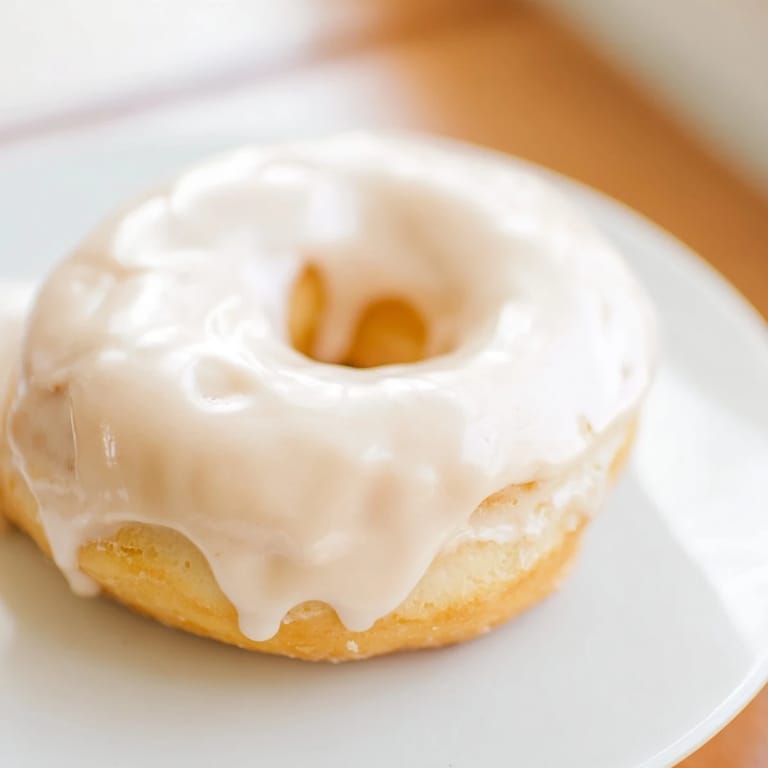
- Glaze while warm:
- Dip each warm (not hot) donut into the glaze, turning to coat both sides, then set it on a rack to set. Glaze sets quickly, especially if the donuts cool a bit first.
 Save to Pinterest
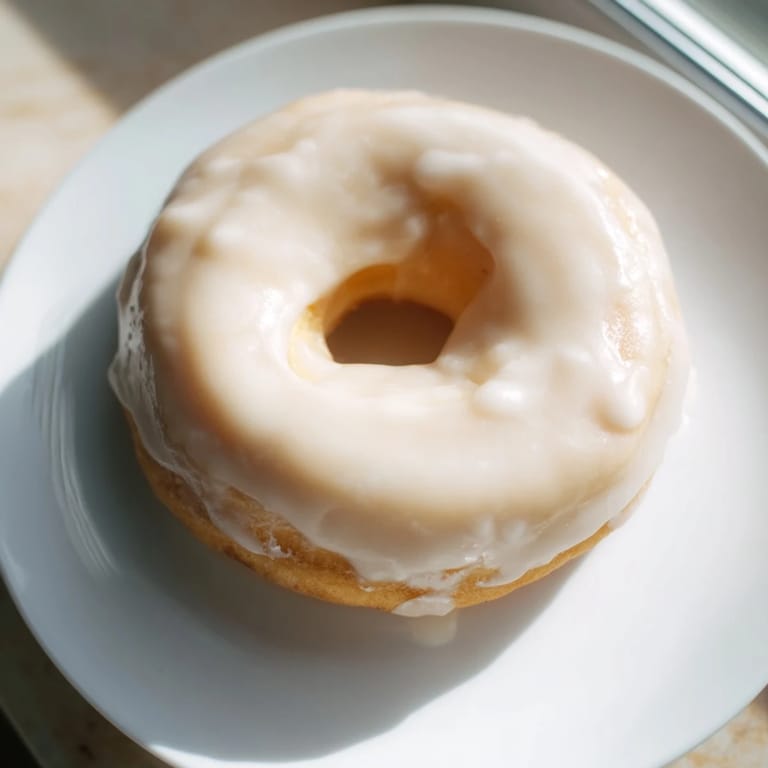
 There's a particular kind of quiet satisfaction that comes from watching someone bite into a donut you made yourself, that moment before they smile. My kitchen was still warm from the oil when I sat down with a fresh donut and a cup of coffee, and I realized that homemade donuts are less about impressing people and more about giving yourself permission to do something slow and delicious.
Flavor Variations Worth Trying
Once you're comfortable with the basic recipe, small additions create surprising depth. A pinch of grated nutmeg in the dough adds a subtle warmth that catches people off guard in the best way, while a teaspoon of almond extract swapped for vanilla in the glaze gives an almost delicate, sophisticated edge. Citrus zest stirred into the glaze—lemon or orange—brightens the whole thing, making it taste lighter and more summery. I've also had success with a light dusting of cinnamon sugar instead of glaze, which turns them into something entirely different but equally craveable.
Storage and the Day-After Question
These donuts taste best within a few hours of frying and glazing, when the exterior is still slightly crisp and the interior is genuinely soft. If you have leftovers (which is rare), store them in an airtight container at room temperature for up to two days; they'll stay tender, though the glaze does soften slightly. I've never found a good way to reheat them without making them either dry or oddly dense, so I've learned to just enjoy them as they are or slice and toast them lightly if they've firmed up.
Equipment and Setup Tips
Having the right tools makes this process smoother and more enjoyable. A stand mixer saves your arms from kneading, but a large bowl and wooden spoon work just as well if you're willing to put in a little elbow grease. A proper donut cutter (the ring kind with the push-out center) is worth the small investment because it creates clean edges and consistent holes, which fry faster and more evenly than irregular shapes.
- A heavy-bottomed pot or Dutch oven distributes heat better than a thin pot, preventing hot spots that cause uneven frying.
- A slotted spoon with a long handle keeps your hands safely away from splashing oil while you work.
- Parchment paper under your rising donuts prevents them from sticking and makes cleanup almost effortless.
 Save to Pinterest
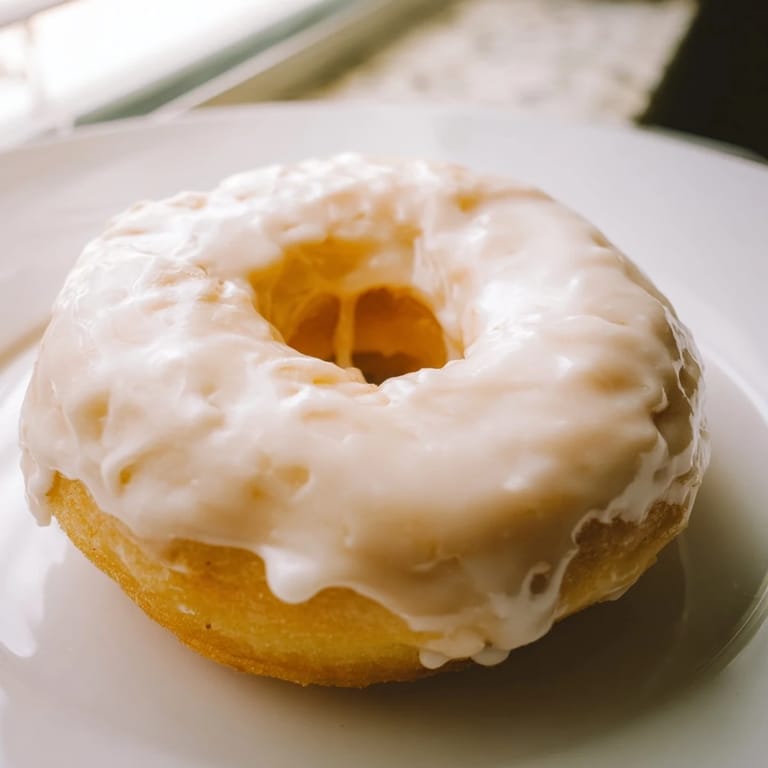
 Homemade glazed yeast donuts are proof that the simplest pleasures often require a little planning and time. Make them on a morning when you have space to breathe, and they become less of a recipe and more of a small ritual.
Recipe FAQs
- → How do I achieve a light, airy texture in these yeast donuts?
Ensure the dough rises until doubled in size to develop air bubbles, and knead until smooth and elastic for better gluten structure.
- → What is the ideal oil temperature for frying?
Maintain the oil temperature at 350°F (175°C) to cook donuts evenly without absorbing excess oil.
- → Can I add flavors to the glaze?
Yes, try adding almond extract or citrus zest to the vanilla glaze for a subtle flavor variation.
- → How should I store these donuts for freshness?
Place donuts in an airtight container and consume within 1-2 days for best texture and taste.
- → Is it necessary to use a stand mixer for the dough?
A stand mixer makes kneading easier, but you can also knead the dough by hand until smooth and elastic.