 Save to Pinterest
 I started making these butter cookies on rainy Sundays when I needed something to do with my hands. The kitchen would fill with that warm, toasty smell of butter and vanilla, and I'd roll out the dough while listening to old records. There's something meditative about cutting shapes and watching them puff up in the oven. They're the kind of cookie that tastes like comfort, with a snap that gives way to a tender crumble. I've made them dozens of times now, and they never get old.
I once brought a tin of these to a friend's house, decorated with messy swirls of icing, and her kid told me they were better than store-bought. That stuck with me. It wasn't about perfection, it was about the fact that they tasted real. Since then, I've made them for birthdays, holidays, and just because. They've become my go-to when I want to give something homemade that actually feels special.
Ingredients
- Unsalted butter: This is the star, so use good quality butter and make sure it's soft enough to cream easily but not melted.
- Granulated sugar: Just enough sweetness to balance the richness without overpowering the butter flavor.
- Egg: Brings the dough together and adds a little lift, make sure it's at room temperature so it blends smoothly.
- Pure vanilla extract: Don't skip this, it rounds out the flavor and makes the whole kitchen smell amazing.
- All-purpose flour: The backbone of the cookie, measure it carefully so the dough isn't too stiff or too soft.
- Baking powder: A small amount gives just a hint of lift without making them cakey.
- Fine sea salt: Essential for balancing sweetness and bringing out the buttery notes.
- Royal icing or glaze: Optional, but this is where you can get creative with colors and designs.
- Sprinkles or sanding sugar: For a little sparkle and crunch if you're in the mood.
Tired of Takeout? 🥡
Get 10 meals you can make faster than delivery arrives. Seriously.
One email. No spam. Unsubscribe anytime.
Instructions
- Cream the butter and sugar:
- Beat the softened butter and sugar together until the mixture is pale and fluffy, about 2 to 3 minutes. This step is key for getting that tender crumb.
- Add the egg and vanilla:
- Mix in the egg and vanilla until everything is smooth and well blended. The dough should look cohesive and slightly glossy.
- Whisk the dry ingredients:
- In a separate bowl, combine the flour, baking powder, and salt. This ensures even distribution so you don't get pockets of salt or leavening.
- Combine wet and dry:
- Gradually fold the dry ingredients into the wet mixture, stirring just until no streaks of flour remain. Overmixing will make the cookies tough.
- Chill the dough:
- Divide the dough in half, shape into flat disks, wrap tightly in plastic wrap, and refrigerate for at least 1 hour. Chilled dough is easier to roll and holds its shape better.
- Preheat and prep:
- Set your oven to 350°F and line your baking sheets with parchment paper. This prevents sticking and makes cleanup a breeze.
- Roll and cut:
- On a floured surface, roll out one disk to about 1/4 inch thick and cut out your shapes. Work quickly so the dough stays cool.
- Arrange on sheets:
- Place cookies about 1 inch apart on the prepared baking sheets. They don't spread much, but they do need a little breathing room.
- Bake until golden:
- Slide the sheets into the oven and bake for 10 to 12 minutes, just until the edges turn a light golden color. The centers may look soft, but they'll firm up as they cool.
- Cool in stages:
- Let the cookies rest on the baking sheets for 5 minutes to set, then transfer them to wire racks. This prevents breakage and ensures they cool evenly.
- Decorate when cool:
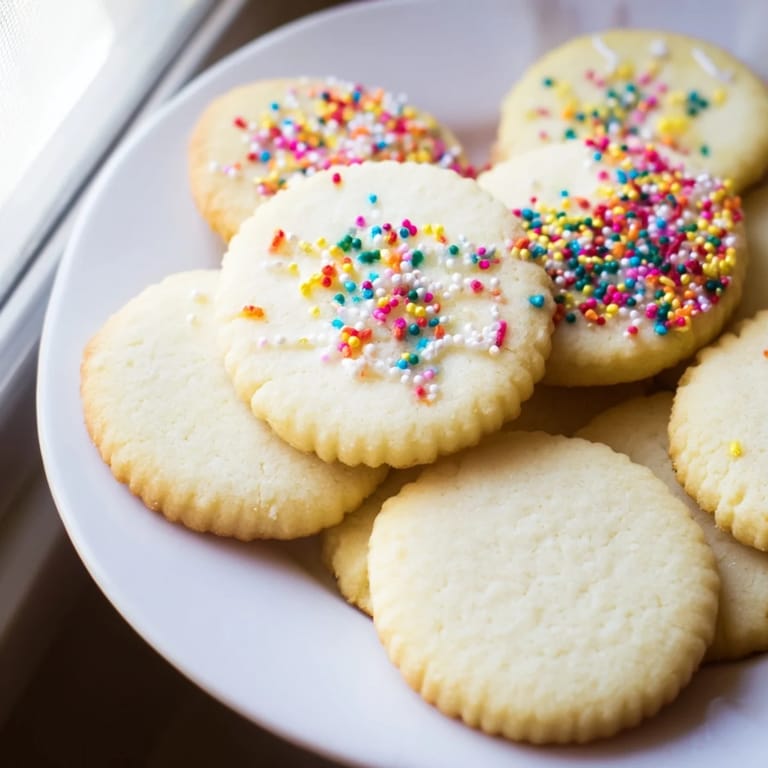
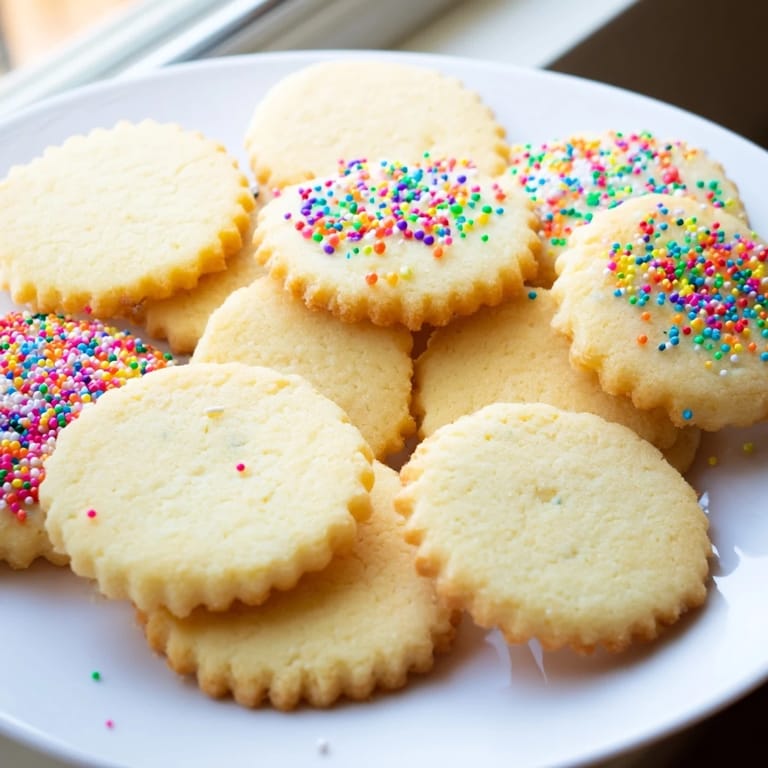
- Once the cookies are completely cool, go wild with icing, sprinkles, or whatever decorations you like. This is the fun part.
 Save to Pinterest
 There was one Christmas when I made a whole batch of these with my niece, and we decorated them with way too much icing and glitter. They looked chaotic, but she was so proud. We gave them to neighbors, and every time I see her now, she asks if we can make the butter cookies again. That's when I realized these weren't just cookies anymore, they were little edible memories.
Storage and Make-Ahead Tips
I've learned that making the dough a day or two ahead actually improves the flavor, the butter gets a chance to really settle into the flour. You can wrap the disks tightly and keep them in the fridge for up to 3 days, or freeze them for a month. When you're ready, just thaw in the fridge overnight and roll as usual. Baked cookies stay fresh in an airtight container for about a week, or you can freeze them for longer.
Flavor Variations to Try
Once you've mastered the basic dough, it's easy to switch things up. I've swapped out a quarter cup of flour for cocoa powder and ended up with rich chocolate butter cookies that taste like fancy shortbread. You can also add a teaspoon of almond extract instead of vanilla, or fold in some lemon zest for a bright, citrusy twist. The dough is a blank canvas, so don't be afraid to experiment.
Serving Suggestions and Pairings
These cookies are perfect with a hot cup of tea or coffee, especially in the afternoon when you need a little pick-me-up. I've also served them alongside fruit tarts or ice cream for a simple dessert spread. If you're feeling fancy, pair them with a glass of dessert wine or even a light sparkling cider.
- Serve them stacked on a pretty plate with a dusting of powdered sugar for an elegant presentation.
- Pack them in tins with tissue paper for homemade gifts that actually feel thoughtful.
- Keep a batch in the freezer so you always have something sweet on hand when friends drop by.
 Save to Pinterest
 Every time I pull a tray of these out of the oven, I'm reminded that some recipes don't need to be complicated to be worth making. These butter cookies are simple, reliable, and always feel like a small act of care.
Recipe FAQs
- → What ingredients give these cookies their rich flavor?
Softened unsalted butter combined with granulated sugar and vanilla extract creates the rich, buttery taste that defines these cookies.
- → How can I achieve a tender yet crisp texture?
Chilling the dough before rolling helps maintain the shape, while baking until edges turn golden ensures a crisp exterior with a tender center.
- → Can these cookies be decorated?
Yes, once cooled, they can be adorned with royal icing, glaze, sprinkles, or sanding sugar for added flavor and visual appeal.
- → Is it possible to make a chocolate variation?
Replacing a portion of the flour with cocoa powder adds a chocolate twist without compromising the texture.
- → What tools are recommended for preparation?
Mixing bowls, an electric or stand mixer, measuring utensils, plastic wrap, rolling pin, cookie cutters, baking sheets, parchment paper, and wire racks are ideal for efficient preparation.
- → How should the dough be stored if not baked immediately?
The dough can be refrigerated for up to 3 days or frozen for up to one month, tightly wrapped to preserve freshness.